Typecho博客添加ico图标的方法
在站点模板的根目录添加favicon.ico图标
然后在模板的header.php的头部添加
<link rel="shortcut icon" href="<?php $this->options->themeUrl('favicon.ico'); ?>" type="image/x-icon" />

在站点模板的根目录添加favicon.ico图标
然后在模板的header.php的头部添加
<link rel="shortcut icon" href="<?php $this->options->themeUrl('favicon.ico'); ?>" type="image/x-icon" />

Enable Rewrite Module
In order to perform the 301 redirect, we will use the Apache mod_rewrite, or Rewrite, module. Doing so will ensure that your users can access your site with or without the www. prefix, and be redirected to the domain that you prefer.
First, enable the mod_rewrite module with this command:
sudo a2enmod rewrite
With the Rewrite module enabled, we can configure Apache with redirect rules using .htaccess files.
Enable .htaccess Files
Open your Apache configuration file for editing. On Ubuntu, the default configuration file is located at /etc/apache2/sites-enabled/000-default.conf, so we will use that in our example:
sudo vi /etc/apache2/sites-enabled/000-default.conf
Find the DocumentRoot of your site, and take a note of it. By default, it's /var/www/html, so we will use that in our example configuration.
Add the following Directory directive to the configuration and be sure to substitute the DocumentRoot for the highlighted part:
Add to Apache configuration
 <Directory /var/www/html>
    Options Indexes FollowSymLinks MultiViews
    AllowOverride All
    Order allow,deny
    allow from all
 </Directory>
Save and exit.
Now restart Apache to put the change into effect:
sudo service apache2 restart
Now Apache is configured to read .htaccess files located anywhere under the /var/www/html directory. Let's add our Rewrite rules now.
Configure Rewrite Module
As we mentioned earlier, we will configure the Rewrite module using an .htaccess file.
Change directories to your DocumentRoot, in our case, /var/www/html:
cd /var/www/html
Now open .htaccess for editing:
sudo vi .htaccess
Of course, if you haven't created the file before, it will be blank. Depending on which direction you want to redirect, use one of the following options.
Option 1: Redirect www to non-www
If you want redirect users from www to a plain, non-www domain, insert this configuration:
.htaccess — www to non-www
RewriteEngine On
RewriteBase /
RewriteCond %{HTTP_HOST} ^www\.(.*)$ [NC]
RewriteRule ^(.*)$ http://%1/$1 [R=301,L]
Save and exit. The changes should go into effect immediately. Note that if you are using HTTPS, you should update "http", in the RewriteRule line, to "https".
Use this curl command to ensure that the non-www domain redirects to the www domain (replace the highlighted part with your actual domain):
curl -I http://www.example.com
You should get a 301 Moved Permanently response, that shows the non-www redirect location, like this:
Output:
HTTP/1.1 301 Moved Permanently
Date: Fri, 01 May 2015 21:18:33 GMT
Server: Apache/2.4.7 (Ubuntu)
Location: http://example.com/
Content-Type: text/html; charset=iso-8859-1
Of course, you should access your domain in a web browser (www and non-www) to be sure.
Option 2: Redirect non-www to www
If you want redirect users from a plain, non-www domain to a www domain, insert this configuration:
.htaccess — non-www to www
RewriteEngine On
RewriteBase /
RewriteCond %{HTTP_HOST} !^www\. [NC]
RewriteRule ^(.*)$ http://www.%{HTTP_HOST}/$1 [R=301,L]
Save and exit. the changes should go into effect immediately. Note that if you are using HTTPS, you should update "http", in the RewriteRule line, to "https".
Use this curl command to ensure that the non-www domain redirects to the www domain (replace the highlighted part with your actual domain):
curl -I http://example.com
You should get a 301 Moved Permanently response, that shows the www redirect location, like this:
Output:
HTTP/1.1 301 Moved Permanently
Date: Fri, 01 May 2015 21:18:33 GMT
Server: Apache/2.4.7 (Ubuntu)
Location: http://www.example.com/
Content-Type: text/html; charset=iso-8859-1
Of course, you should access your domain in a web browser (www and non-www) to be sure.
Conclusion
That's it! Your Apache redirect is now configured properly, and your users will be able to access your web server via your non-www and www domain.
If you would like to understand more about mod_rewrite, the Apache feature that we used to implement the redirect, feel free to read this tutorial: How To Set Up Mod_Rewrite.

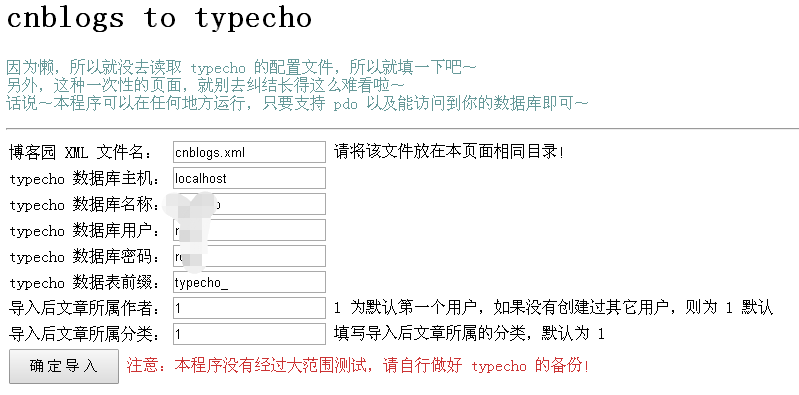
下载地址:https://github.com/BackTrackCRoot/cnblogs-to-typecho
使用说明


注意事项:
第一行加入设置时区代码即可
<?php
ini_set('date.timezone','Asia/Shanghai');
if ($_SERVER['REQUEST_METHOD'] == 'POST')
update typecho_contents set slug = title where slug is null;
PHP2.4开启重写功能,修改配置文件
/etc/httpd/conf,找到对应的站点节点
AllowOverride All
对于低版本apache,需要引入对于的.so文件开启。
修改后重启apache
sudo service httpd restart
验证是否开启成功
httpd -M
存在rewrite_module (shared),即表示开启成功!
提示无写入.htaccess文件是权限问题
chown -R apache:apache /var/www/html
如果保存设置时出现如下情况,重写功能检测失败,在你确保服务器配置没有问题的情况下,可以手动添加重写规则文件.htaccess到系统根目录,内容如下:
RewriteEngine On
RewriteBase /
RewriteCond %{REQUEST_FILENAME} !-f
RewriteCond %{REQUEST_FILENAME} !-d
RewriteRule ^(.*)$ index.php [L,E=PATH_INFO:$1]

访问网站后台页面,显示Missing Config File 首页无异常 环境lamp,其它环境类似
; open_basedir, if set, limits all file operations to the defined directory
; and below.  This directive makes most sense if used in a per-directory
; or per-virtualhost web server configuration file. This directive is
; *NOT* affected by whether Safe Mode is turned On or Off.
; http://php.net/open-basedir
;open_basedir =
具体open_basedir用法参见:http://php.net/open-basedir